In the highly competitive world of scented candles, the container is no longer just an accessory: it is the primary...
%5B1%5D.png)
Latest posts
-
 Double-walled candle jar: A design innovation to elevate your premium collectionsRead more
 -
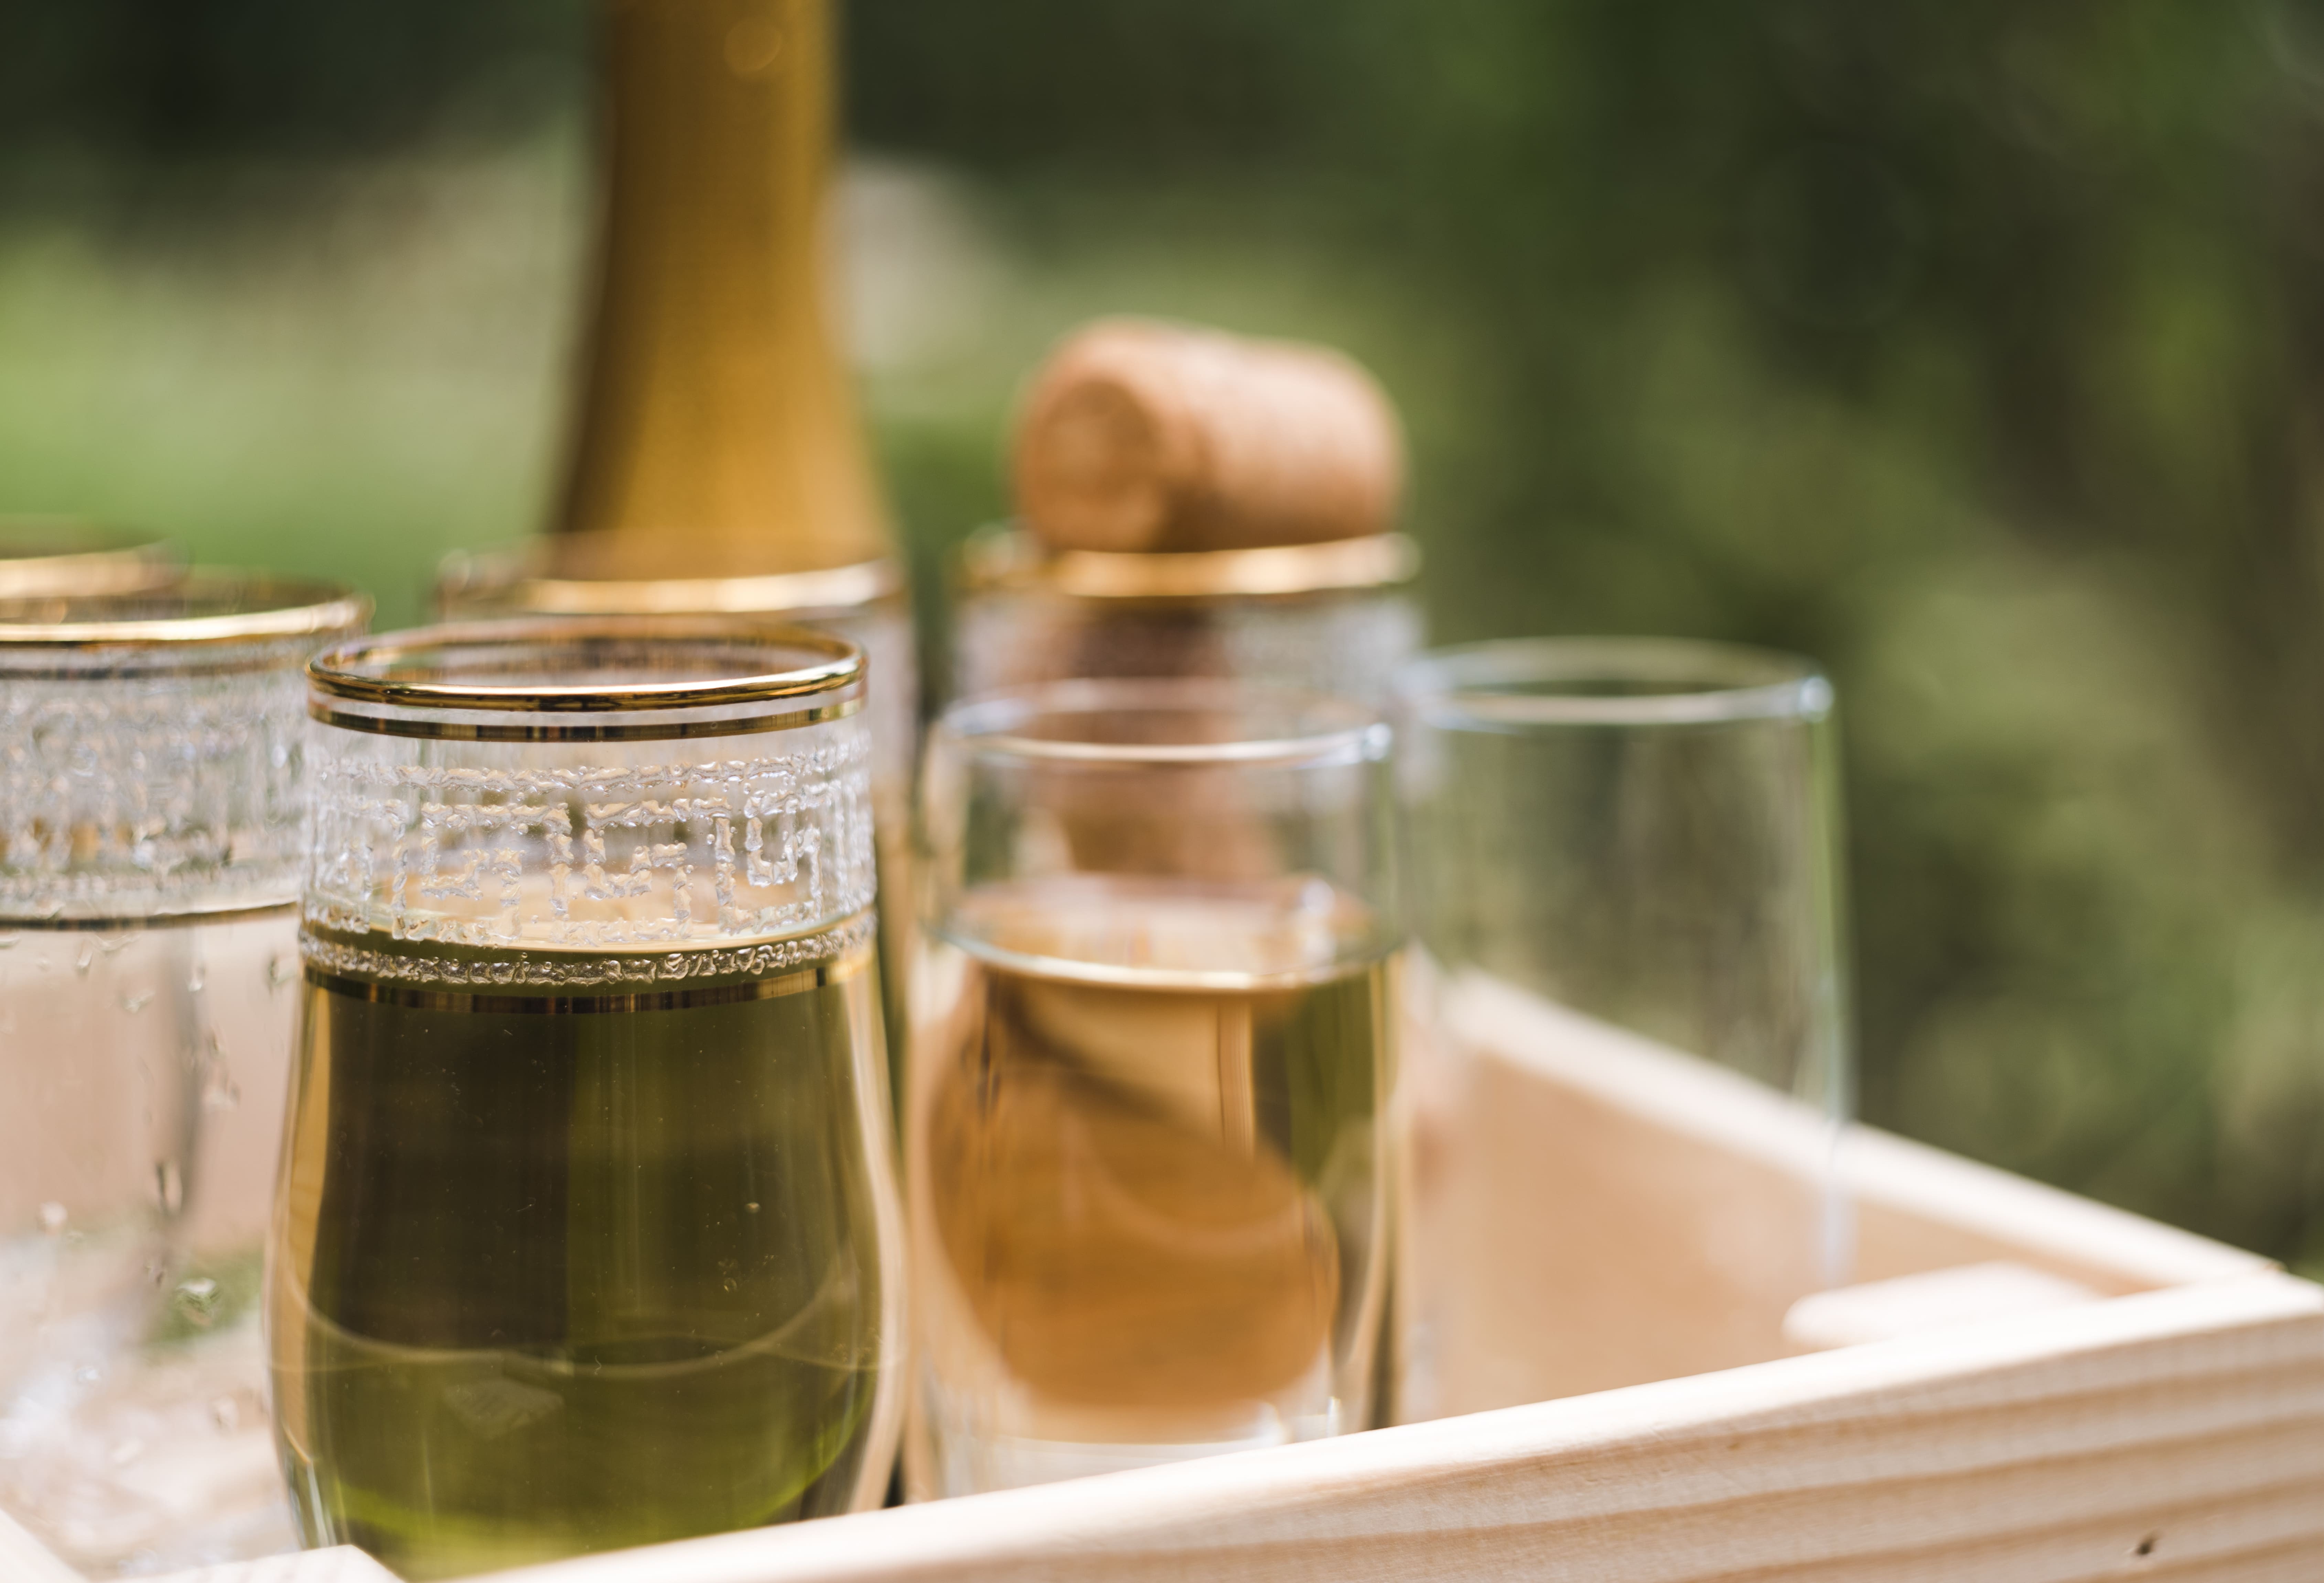
 Custom-made crystal glasses: when glassware becomes a work of artRead more
In the hospitality, restaurant, events, and luxury sectors, the customer experience is no longer limited to the...
-
 How to make a handmade scented candle?Read more
Making your own scented candles at home or in a workshop is within everyone's reach—provided you understand the...
-
 Next-generation unbreakable glasses: the look of glass, without the breakageRead more
A revolution in the world of glassware: Tritan glass While glass has long been synonymous with elegance,...
-
 Glass domes : the perfect accessory to showcase your pastries and sweetsRead more
In the world of pastry, every detail matters when it comes to offering your customers an unforgettable experience....
-
 Glass Domes: the perfect accessory to elevate your decor and flowersRead more
Glass domes have become a staple in the world of interior design. Elegant and versatile, they bring a touch of...
-
 How to calculate the amount of wax needed for candle containersRead more
As a glassware wholesaler, AllGlass understands how essential it is to grasp the specific needs related to candle...
-
 Is glass packaging more sustainable ?Read more
In a world where sustainability has become a major concern, many industries are seeking environmentally friendly...
-
 How to ship glass-packaged products safely: a guide for businessesRead more
Shipping products packaged in glass presents a major logistical challenge for many businesses. Glass items, while...
-
 How to sell candles wholesale: 5 key steps to succeedRead more
Candles are both timeless and trendy products, cherished by consumers for their warm ambiance and pleasant fragrance....
Blog categories
Search in blog
Archived posts

How to make a handmade scented candle?
Making your own scented candles at home or in a workshop is within everyone's reach—provided you understand the process and use the right techniques. Behind every candle that burns evenly, releases a pleasant fragrance, and looks professional lies a series of precise choices: the right type of wax, a wick suited to the container diameter, the correct fragrance load, and carefully controlled pouring temperatures. This guide provides everything you need to successfully create artisan candles from your very first attempt, whether you are a beginner or looking to professionalize your production.
Why Make Your Own Artisan Candles?
The artisan candle market has experienced strong growth in France in recent years. According to data from the home décor sector, sales of scented candles increased by more than 30% between 2020 and 2024, driven by wellness trends, slow living, and interior personalization. By 2026, artisan candles have become a genuine market segment, with consumers willing to pay a premium for products that are local, natural, and unique.
Making your own candles therefore represents an excellent opportunity for artisans looking to launch a brand, as well as for individuals who want personalized creations, handmade gifts, or simply greater control over the products they use in their homes. By crafting candles yourself, you can select natural waxes, pure essential oils, and high-quality glass candle containers that enhance the value of your creations.
Essential Equipment for Making a Scented Candle
Before you begin, here is a complete list of the equipment you will need. Nothing on this list is unnecessary—each item plays a specific role in the quality of the final product.
| Item | Details / Recommendation | Essential? |
|---|---|---|
| Wax | Soy wax, paraffin wax, beeswax, coconut wax, or blends | ✅ Yes |
| Glass container | Cylindrical jar, votive holder, or dedicated candle jar | ✅ Yes |
| Pre-waxed wick | Cotton or wooden wick, matched to container diameter | ✅ Yes |
| Fragrance / Essential oil | Candle fragrance oil or pure essential oil with flash point above 60°C | ✅ Yes |
| Thermometer | Accurate temperature measurement is essential for pouring | ✅ Yes |
| Saucepan and double boiler | Never melt wax directly over a flame | ✅ Yes |
| Precision scale | Required for accurate measurements and ratios | ✅ Yes |
| Wick centering tool or clip | Keeps the wick perfectly centered while the wax hardens | ✅ Yes |
| Pouring pitcher | Makes pouring easier and cleaner | Recommended |
| Candle dyes | Use only oil-soluble dyes specifically formulated for candles | Optional |
| Custom labels | For retail sales or gift packaging | Optional |
Choosing the Right Wax: Complete Wax Comparison for 2026
Your choice of wax is the most important decision in your candle recipe. It determines the visual appearance, fragrance performance, burn time, and overall positioning of your product. Here is a detailed comparison of the main waxes used in artisan candle making.
| Wax Type | Origin | Melting Point | Maximum Fragrance Load | Appearance | Approx. Price / kg | Best For |
|---|---|---|---|---|---|---|
| Soy Wax | Plant-based (soybeans) | 45–55°C | 10–12% | Creamy white, matte | €5–9 | Container candles, natural and organic markets |
| Paraffin Wax | Petroleum-based | 52–68°C | 8–10% | Translucent, glossy | €2–4 | Pillar candles, votives, mass-market production |
| Beeswax | Animal-based (beekeeping) | 62–65°C | 6–8% | Natural golden yellow | €12–20 | Premium and luxury candles |
| Coconut Wax | Plant-based (coconut) | 30–38°C | 12–16% | Bright white, very creamy | €8–14 | Container candles with exceptional fragrance performance |
| Rapeseed Wax | Plant-based (European rapeseed) | 52–58°C | 8–10% | Creamy, slightly yellow | €4–7 | Local alternative to soy wax |
| Soy + Paraffin Blend | Mixed | 50–58°C | 10–12% | Good performance and attractive finish | €4–7 | Versatile, excellent value for money |
2026 Trend: Coconut wax is gaining significant popularity among premium artisan candle makers. Its fragrance retention capacity exceeds that of soy wax, while its ultra-white creamy appearance appeals to luxury home décor brands. Rapeseed wax, grown in Europe, is also becoming a sustainable alternative to imported soy wax.
Choosing the Right Glass Container for Your Candle
The container is both a technical component and a key element of your candle's presentation. Glass is ideal because it withstands heat, does not react with wax or essential oils, and showcases both the color of the wax and the glow of the flame. Three main criteria should guide your choice.
Diameter directly determines the wick size required. The wider the container, the larger the wick must be to distribute heat evenly across the entire surface. A jar with a diameter of 8 cm will require a significantly more robust wick than one measuring 5 cm.
Height influences burn time. For the same volume, a tall, narrow jar will generally burn longer than a wide, shallow container because the flame progresses through a deeper wax column.
Capacity, measured in milliliters or grams of wax, determines both the material cost per candle and the pricing strategy for the finished product.
At All Glass, our candle jars (SM models, Ø8 cm, H.9 cm) are designed for professional use, offering thermal resistance suitable for both wax pouring and combustion. Our large glass votive holders are ideal for decorative candles and premium creations. For fully customized containers, our bespoke glass manufacturing service allows you to define the shape, capacity, and finish that best reflect your brand identity.
Choosing the Right Wick: Matching Wick Size to Your Container
The wick is often the most underestimated component by beginners—and yet it is the most critical factor in achieving proper candle performance. If the wick is too small, the melt pool will not form correctly, resulting in tunneling. If it is too large, the flame may produce soot, blacken the glass, and consume the wax too quickly.
Wick selection depends on three key factors: the inside diameter of the container, the type of wax, and the fragrance load. The table below provides general recommendations for braided cotton wicks, the most commonly used type in artisan candle making.
| Inside Container Diameter | Soy Wax | Paraffin Wax | Coconut Wax | Wax Blend |
|---|---|---|---|---|
| 4–5 cm | ECO-2 / CD-6 | LX-10 | ECO-1 | CD-8 |
| 5–6.5 cm | ECO-4 / CD-10 | LX-14 | ECO-4 | CD-12 |
| 6.5–8 cm | ECO-8 / CD-16 | LX-18 | ECO-6 | CD-16 |
| 8–9.5 cm | ECO-12 / CD-20 | LX-22 | ECO-10 | CD-20 |
| 9.5–11 cm | ECO-14 / CD-24 | LX-26 | ECO-14 | CD-24 |
These recommendations are provided as a starting point and should always be validated through burn testing on at least three candles. Never begin production without testing.
Wooden wicks (typically cherry or maple wood) are a popular alternative. They create a distinctive crackling sound and produce a wider flame. However, they require larger containers (minimum Ø7 cm) and lower-viscosity waxes to perform correctly.
Fragrance: Essential Oils or Fragrance Oils?
This is one of the most common questions asked by beginners. The short answer is that both can work—but not in the same way.
| Criteria | Essential Oils (EOs) | Fragrance Oils |
|---|---|---|
| Origin | 100% natural (steam distillation) | Synthetic or semi-natural |
| Flash Point | Often low (<60°C) — higher risk | Generally >60°C — safer |
| Heat Stability | Low to moderate (high volatility) | Good to excellent |
| Cold Throw | Good | Varies by formulation |
| Hot Throw (while burning) | Moderate to low | Strong |
| Fragrance Range | Limited to natural aromatic compounds | Extremely broad (fruity, gourmand, marine, etc.) |
| Cost | Can be expensive | Generally more affordable |
| Marketing Appeal | Strong (natural, organic) | Moderate (depends on branding) |
For a candle that smells great and performs consistently, the most effective solution is often a blend of cosmetic-grade fragrance oils complemented by a small amount of pure essential oils. This approach combines the performance and scent complexity of fragrance oils with the marketing value of natural ingredients.
Temperature Guidelines: The Essential Reference Table
Temperature control is the key to producing flawless candles. The table below outlines the three critical temperatures for each wax type.
| Wax Type | Melting Temperature | Fragrance Addition Temperature | Pouring Temperature |
|---|---|---|---|
| Soy Wax | 45–55°C | 55–60°C | 55–60°C |
| Low-Melt Paraffin | 52–58°C | 65–70°C | 65–70°C |
| High-Melt Paraffin | 60–68°C | 75–80°C | 75–80°C |
| Beeswax | 62–65°C | 70–75°C | 70–75°C |
| Coconut Wax | 30–38°C | 50–55°C | 45–55°C |
| Rapeseed Wax | 52–58°C | 60–65°C | 60–65°C |
Golden Rule: Always add fragrance at a temperature approximately 10–15°C above the wax melting point, then stir gently for two full minutes to ensure proper incorporation. Never pour too hot (which may cause sinkholes and shrinkage) or too cold (which can lead to lumps and poor glass adhesion).
Step-by-Step Recipe: How to Make a Scented Artisan Candle
The following procedure explains how to make a container candle using 200 g of wax and an 8% fragrance load.
Ingredients for One 200 g Candle
| Ingredient | Quantity | Calculation |
|---|---|---|
| Soy Wax | 184 g | 200 g × 92% |
| Fragrance Oil | 16 g | 200 g × 8% |
| Candle Dye (optional) | 0.1–0.5 g | 0.05–0.25% of wax weight |
Step 1 — Prepare the Container and Center the Wick
Clean the glass container with isopropyl alcohol to remove dust and grease. Cut the wick to the height of the container plus approximately 2 cm. Attach the wick tab securely to the center of the jar's base. Use a wick holder or centering tool to keep the wick perfectly upright during the cooling process.
Step 2 — Melt the Wax Using a Double Boiler
Place the measured wax into a pouring pitcher and set it in a saucepan filled with simmering water. Never melt wax directly over a flame. Stir gently while monitoring the temperature. For soy wax, wait until all the wax has melted and reaches approximately 60°C.
Step 3 — Add the Fragrance
Remove the wax from the heat source and verify that the temperature is between 55°C and 60°C. Add the pre-weighed fragrance oil and stir slowly and consistently for two full minutes using a clean spatula. This step is critical, as insufficient mixing can result in fragrance pockets and uneven scent distribution.
Step 4 — Add Color (Optional)
If you wish to color your candle, add a candle-safe oil-soluble dye after the fragrance while the wax remains between 55°C and 65°C. Candle dyes are specifically designed to withstand burning temperatures without leaving residues. Never use food coloring or cosmetic pigments, as they can clog the wick and negatively affect combustion.
Step 5 — Pour Into the Container
Allow the wax to cool to the ideal pouring temperature (55–60°C for soy wax). Slowly pour the wax into the glass container, aiming toward the center to avoid shifting the wick. Leave approximately 1 cm of space at the top of the container. Avoid drafts and vibrations while the candle is setting.
Step 6 — Allow to Cool and Perform a Second Pour if Necessary
Let the candle cool at room temperature (ideally between 18°C and 22°C) for at least 24 hours. Soy wax often contracts slightly in the center as it cools, creating a small sinkhole. This is normal. If needed, top off the surface with a small amount of melted wax at the same temperature to create a smooth finish.
Step 7 — Trim the Wick and Cure the Candle
Trim the wick to approximately 5–7 mm above the wax surface. Allow the candle to cure for at least 48 hours before its first use. This curing period enables the fragrance to bind properly with the wax and significantly improves scent throw. For soy wax candles, many artisans recommend a curing period of up to seven days for optimal performance.
-
 Are glass packaging materials more eco-friendly?
In a world where environmental awareness is growing, the question of packaging’s ecological impact has become...Read more
Are glass packaging materials more eco-friendly?
In a world where environmental awareness is growing, the question of packaging’s ecological impact has become...Read more -
 Glass decoration ideas for spring
Spring is the season of lightness, freshness, and renewal. It’s the perfect time to refresh your interior decor and...Read more
Glass decoration ideas for spring
Spring is the season of lightness, freshness, and renewal. It’s the perfect time to refresh your interior decor and...Read more -
 How to choose the ideal glassware to showcase your culinary creations?
In the world of gastronomy, aesthetics play a role as crucial as taste. A well-crafted presentation can transform a...Read more
How to choose the ideal glassware to showcase your culinary creations?
In the world of gastronomy, aesthetics play a role as crucial as taste. A well-crafted presentation can transform a...Read more -
 5 Reasons to use glass containers for food products
In a world where environmental awareness and product quality are becoming increasingly important criteria for...Read more
5 Reasons to use glass containers for food products
In a world where environmental awareness and product quality are becoming increasingly important criteria for...Read more -
How to sell candles wholesale: 5 key steps to succeed
Candles are both timeless and trendy products, cherished by consumers for their warm ambiance and pleasant fragrance....Read more